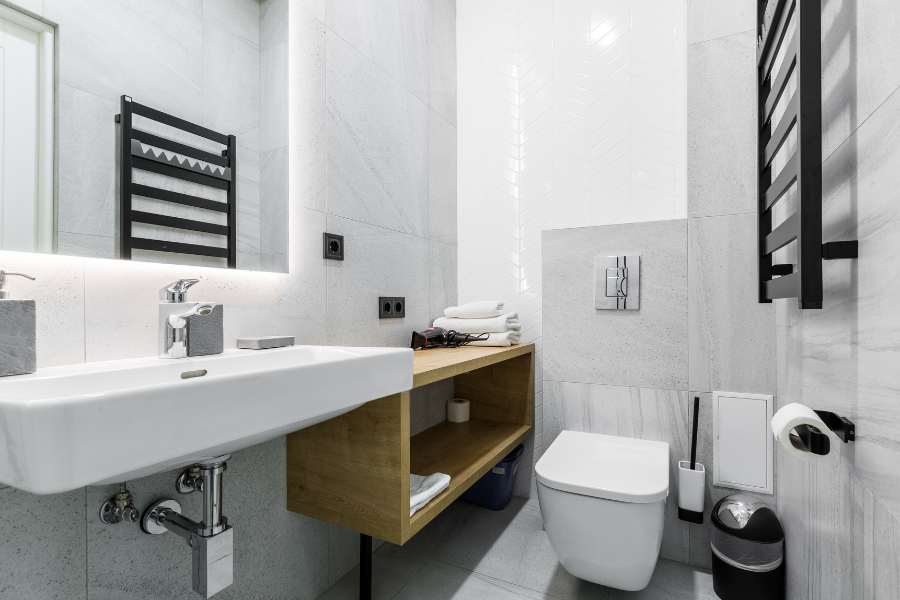
This article highlights the top 7 mistakes to avoid during bathroom regrouting and offers expert tips for achieving long-lasting, mold-free results.

Bathroom regrouting is an essential maintenance task that restores the beauty and functionality of tiled surfaces. However, many homeowners and even professionals make critical mistakes that lead to costly repairs, water damage, and unsatisfactory results. Below, we will uncover the top bathroom regrouting mistakes you must avoid to ensure a durable, clean, and visually appealing finish.
One of the most common and damaging mistakes is failing to remove all of the old grout before applying new material. Incomplete grout removal leads to poor adhesion and causes the new grout to crumble or crack quickly.
When regrouting a bathroom:
Always use a grout saw, oscillating tool, or multi-tool to thoroughly scrape out the old grout.
Ensure all loose, moldy, or deteriorated grout is fully removed.
Clean the gaps carefully to eliminate dust and debris.
Leaving traces of old grout compromises the new grout’s ability to bond properly, reducing its lifespan significantly.
Choosing the correct grout is vital for the longevity and strength of the tiled surface. Many people mistakenly use unsanded grout where sanded grout is required, or vice versa.
Key grout selection guidelines:
Use sanded grout for joints wider than 1/8 inch, providing better durability and crack resistance.
Apply unsanded grout for joints less than 1/8 inch to avoid scratching delicate tiles like glass or polished stone.
Incorrect grout type leads to weak joint filling, unsightly cracks, and may necessitate premature repairs.
Proper surface preparation is a non-negotiable step that some overlook. If the tile surfaces and joints are not meticulously cleaned, the grout will not adhere correctly, leading to flaking and moisture penetration.
Steps for adequate preparation:
Completely clean tile surfaces to remove soap scum, mold, and grease.
Ensure joints are dry and free from cleaning agents or loose particles.
Allow sufficient drying time after cleaning to prevent moisture entrapment under the grout.
Failure in this step directly impacts the structural integrity of the regrouted area.
Grouting over moisture or existing mold is a severe mistake that can cause health hazards and long-term damage. Moisture trapped behind tiles encourages mold growth that spreads beneath the surface.
How to prevent this mistake:
Inspect thoroughly for signs of mold or mildew before starting.
Address any underlying water leaks or seepage issues.
Use a mildew-resistant grout and apply a quality grout sealer after curing.
Never regrout over a compromised surface without resolving the root cause of moisture intrusion.
Incorrect grout application techniques can result in inconsistent lines, air pockets, or premature cracking. Many DIYers either overwork the grout or fail to press it deeply into the joints.
Best practices for grout application:
Work in small sections using a rubber grout float.
Hold the float at a 45-degree angle and firmly press the grout into the joints.
Avoid excessive wiping, which can pull grout out of the joints.
Ensure uniform filling across all lines for a professional finish.
Poor application compromises both appearance and durability.
Rushing the curing process is a mistake that undermines the strength and water resistance of the grout. Many people walk on newly grouted surfaces or expose them to water before the grout has fully cured.
Critical curing tips:
Allow the grout to cure for at least 24 to 72 hours, depending on manufacturer guidelines.
Keep the area dry and well-ventilated during curing.
Avoid sealing too early; sealing before proper curing traps moisture, weakening the grout.
Disregarding curing time leads to grout failure and the need for expensive rework.
Unsealed grout is highly porous and quickly absorbs moisture, leading to stains, mold, and deterioration. Skipping this step is a serious error that shortens the lifespan of your bathroom regrouting work.
Grout sealing essentials:
Always apply a high-quality grout sealer after the curing period.
Reapply sealer periodically as recommended (usually every 6 to 12 months).
Focus on high-moisture areas like showers, tubs, and bathroom floors.
Sealing protects against water ingress, staining, and mold, ensuring your bathroom looks fresh and lasts longer.
If you’re looking for a hassle-free solution to bathroom regrouting, Alpha Sealed WA is a perfect example of a professional regrouting company with a wealth of experience and stellar reputation.
Avoiding these seven common bathroom regrouting mistakes is essential for achieving a long-lasting, clean, and professional finish. Proper grout removal, material selection, surface preparation, and careful application are crucial steps that cannot be overlooked. Allowing for proper curing time and diligently sealing the grout will protect your investment and maintain the beauty of your bathroom for years to come.
Generally, every 8-15 years depending on wear, moisture levels, and how well it’s maintained.
It’s not recommended. Proper regrouting requires removing old grout first to ensure a solid, lasting bond.
Look for penetrating sealers designed for wet areas. They provide the best long-term moisture protection.
It typically takes 1-2 days, depending on the bathroom size and whether old grout removal is extensive.